

Choose a Campsite
- Find a flat surface, free of sharp stones and roots.
- Position the tent with one short end facing into the wind for maximum stability.
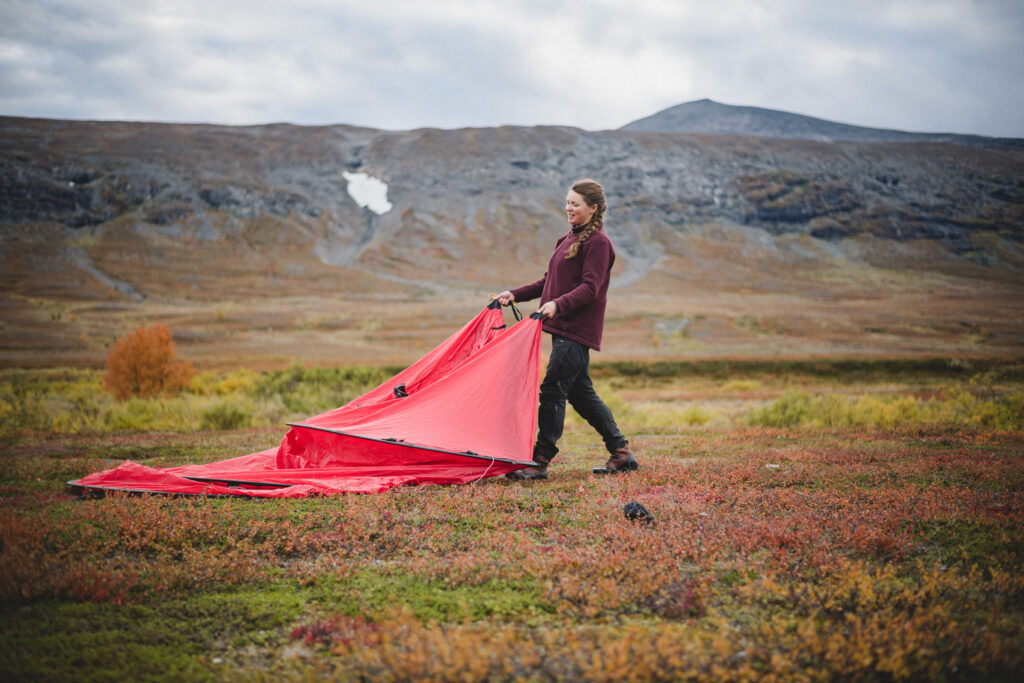
Anchor the Windward End First
- Secure two pegs through the loops at the base of the tent fabric on the short side facing the wind.
- Angle the pegs slightly outwards from the tent when pushing them into the ground.
- For extra security, tie the guyline on that end to your backpack or another heavy object.
- In strong wind, this prevents the tent from blowing away while you work alone.
Insert the Poles – Keep the Tent Low
- Slide the first pole into its sleeve while keeping the tent close to the ground so the wind doesn’t catch the fabric.
- Continue with the remaining poles, one at a time.
- Make sure each pole sits securely in its end socket.
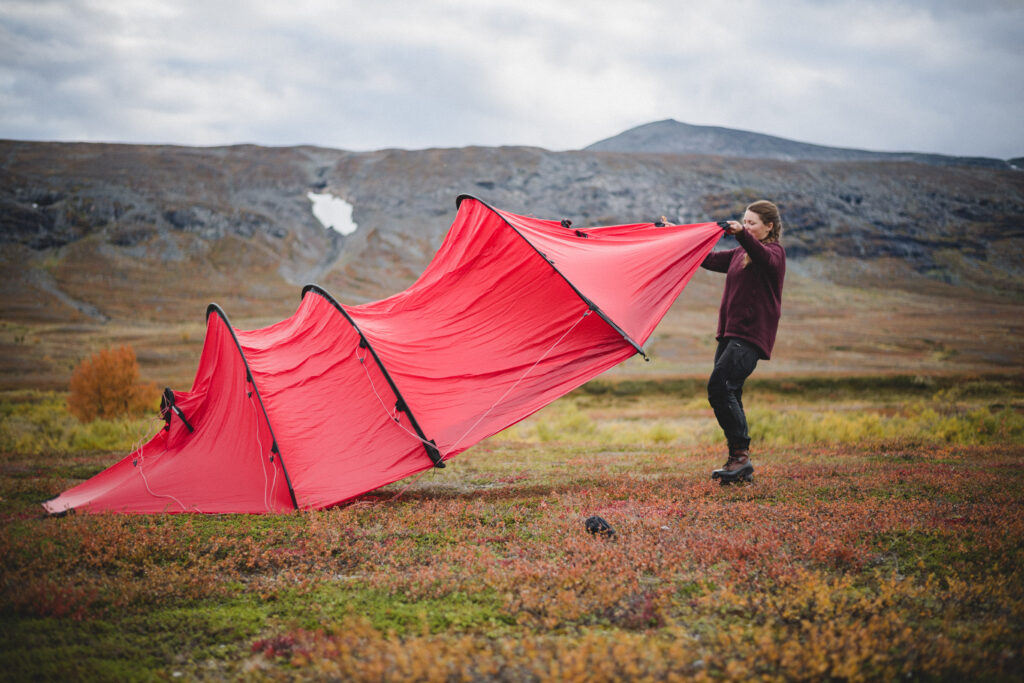
Raise the Tent in a Controlled Way
- Once all poles are in place: grab the bottom of the loose short end, the one facing away from the wind, and step back until the tent fabric is stretched.
- Secure the base of that short end with two pegs.

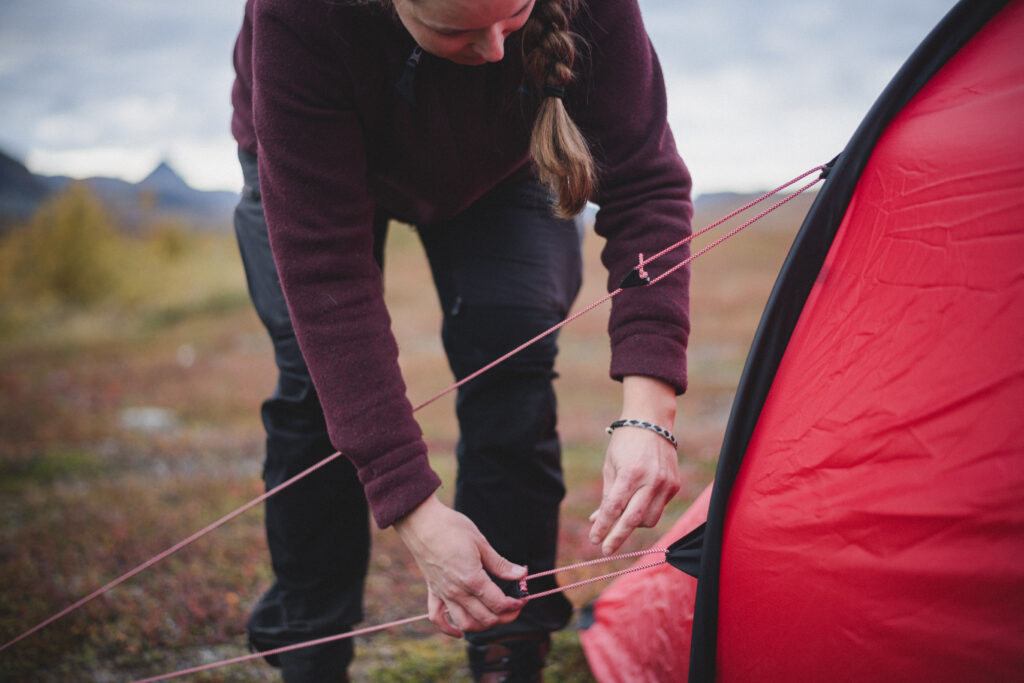
Attach the Guylines
- Start with the guylines on the windward side, ideally at a 45° angle against the wind.
- Then work your way around the tent, attaching and tensioning each guyline one by one.
- Tighten moderately – the fabric should be taut but not overstretched.
Adjust and Secure
- Check that the tent stands straight and that the outer fabric is smooth without sagging.
- Open ventilation hoods as needed.
✅ Extra tips for pitching solo in windy conditions:
- Always anchor the tent to the ground before inserting the first pole.
- Keep the tent low to the ground at all times – don’t lift it up until all poles are in place.
- Work methodically, one pole and one guyline at a time, rather than trying to raise the whole tent in one go.